
Cart 0

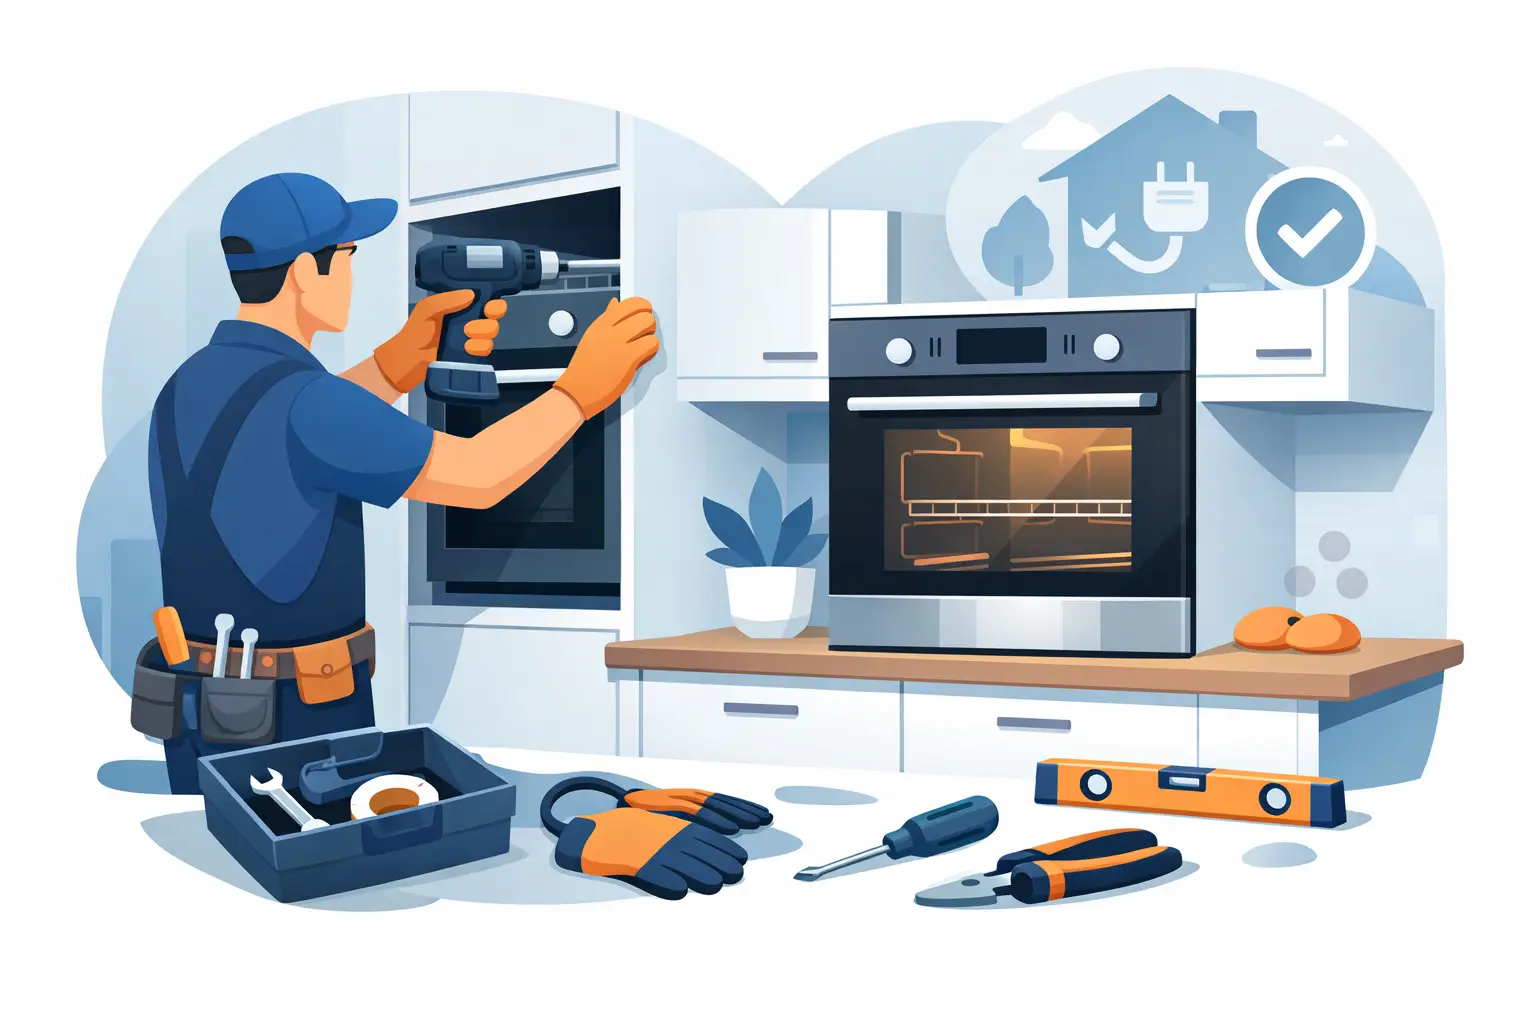
A built-in oven can give a kitchen the clean, considered finish of a space designed for real cooking – from quick weekday dinners to generous weekends shared around the table. Knowing how to install built in oven units correctly matters just as much as choosing the right model. A precise fit, safe electrical connection, and proper ventilation protect your appliance, your cabinetry, and the people who enjoy the kitchen every day.
This is a project where preparation earns its place. The oven may be the visual centerpiece of a modern cooking zone, but it also generates significant heat and requires the right power supply. Use the appliance installation manual as the final authority for your specific model, and bring in a licensed electrician whenever the electrical work is hardwired or unclear.
Before You Install a Built-In Oven
Do not begin by sliding the oven into the cabinet opening. First, confirm that the appliance, cabinet, and electrical setup are designed to work together. Built-in ovens are not interchangeable with freestanding ranges. They need a dedicated housing space, specified airflow gaps, and secure mounting points to perform safely and consistently.
Measure the cabinet cutout height, width, and depth in several places. Older cabinetry can be slightly out of square, and even a small difference may affect how the oven sits. Compare those figures with the oven manual’s installation dimensions, not only with the exterior dimensions shown on the product label. The required cutout is often larger than the appliance body to allow for ventilation and a clean installation.
Also measure the route from the delivery point to the kitchen. Wall ovens are heavy, awkward to grip, and easily damaged if carried alone. Plan for at least two adults to lift and position the unit. Protect the floor and nearby cabinetry with cardboard or a padded blanket while you work.
Check the Cabinet Construction
The oven housing must be level, stable, and strong enough to support the appliance’s full weight. A base shelf that bows, loose side panels, or an uneven opening can make the door sit poorly and place unnecessary stress on the cabinet. If the oven is installed below a countertop, verify that the counter is properly supported and that there is no conflict with drawers, plumbing, or an adjacent cooktop.
Heat-resistant cabinet materials are essential. The manual will state the permitted materials and minimum clearances around the top, sides, back, and base. Those gaps are not wasted space. They allow heat to move away from the oven and help protect finishes, wiring, and surrounding furniture over years of use.
Confirm the Electrical Requirements First
An oven’s electrical requirements depend on its voltage, wattage, and whether it is designed for a plug-in or hardwired connection. Never assume an existing outlet is suitable simply because it is near the cabinet. Many built-in ovens require a dedicated circuit sized for the appliance load, with the correct voltage and grounding.
Check the rating plate and installation manual before arranging any connection. In the United States, electrical work must follow local building codes and the National Electrical Code. A licensed electrician should assess the circuit, breaker, wire gauge, junction box location, and disconnect requirements. This is particularly important in a remodel, where older wiring may not meet the demands of a new high-performance oven.
Turn off power at the breaker before any electrical work begins. Do not rely on an oven control being switched off. If the unit is hardwired, the final connection should be completed by a qualified professional. It is a small step compared with the cost and risk of correcting an unsafe installation later.
How to Install Built In Oven Units Step by Step
Once the cabinet and power supply are ready, installation becomes a careful fitting process rather than a rushed final task. Keep the manual nearby throughout, because screw locations, trim details, and ventilation instructions vary by model.
Prepare the Opening and Connection Area
Clear dust, packaging, and loose materials from the cabinet opening. Make sure the power cable or junction box can be reached without being pinched behind the oven. The connection point should remain accessible as specified by the manufacturer, rather than being trapped in a space that would require removing the appliance for routine service.
Place the oven close to the opening and remove all transport packaging, tape, protective film, racks, and accessories according to the instructions. Some units should be moved with the door removed; others should not. Follow the model-specific guidance to avoid damage to hinges, glass, or electronic controls.
Lift and Slide Without Forcing the Appliance
With one person on each side, lift the oven from its lower frame or approved handholds. Do not lift it by the door handle. Slide the appliance slowly into the cabinet opening while guiding the power cord so it does not snag, bend sharply, or rest against a hot surface.
Pause before pushing the oven fully home. Check that it is centered in the opening, level from side to side, and sitting firmly on its support shelf. If it tilts forward or rocks, remove it and correct the cabinet issue. Forcing an oven into an uneven opening can affect door alignment and long-term performance.
Secure the Oven to the Cabinet
Open the oven door only as directed in the manual to access the mounting holes. Use the supplied screws and attach the unit to the cabinet frame at the specified points. Do not substitute oversized screws, overtighten fasteners, or drill through areas not identified for installation. Cabinet fronts can split, and an improperly secured oven may shift when the door is opened with a heavy roasting pan inside.
Once fixed in place, inspect the trim. It should sit evenly against the cabinet without excessive gaps or pressure. A slight space may be intentional for airflow, so do not cover vents with caulk, foam, or decorative panels. Good ventilation is part of the oven’s safety system.
Test the Oven Before Your First Meal
After the electrical connection has been completed and power is restored, run through the basic functions before loading the oven with food. Set the clock if required, turn on the interior light, test the display and controls, and select a moderate baking temperature. Let the oven heat for the first time according to the manufacturer’s instructions.
A new oven may produce a light odor or a small amount of smoke during its initial heat cycle as factory residues burn off. Ventilate the kitchen and keep the room comfortable, but do not ignore persistent smoke, sparking, error codes, unusual noises, or a breaker that trips. Turn the oven off and contact a qualified technician if anything seems abnormal.
Check that the door closes smoothly and seals evenly. Confirm that cooling air is exiting from the intended vent area, not building up inside the cabinet. Finally, make sure racks slide securely and that the oven is stable when the door is open.
Common Installation Mistakes to Avoid
The most expensive mistakes usually happen before the oven is switched on. Installing into a cutout that is too tight can trap heat and damage cabinetry. Skipping the level check can lead to uneven baking and a door that does not close correctly. Using an existing circuit without confirming its rating can create a serious electrical hazard.
Another frequent issue is blocking ventilation with insulation, trim, or stored items. A built-in oven needs room to manage heat, even when its exterior design looks beautifully integrated. Keep the required clearances intact and avoid using the cabinet space around the appliance for towels, trays, or cleaning products.
If your kitchen includes a cooktop above the oven, confirm that both appliances are approved for that configuration. The spacing, ventilation, and combined electrical load must meet each manufacturer’s instructions. A coordinated kitchen solution should look refined, but it must also work as one safe, efficient system.
When to Call a Professional
Many homeowners can measure the opening, prepare the cabinet, and assist with positioning. Electrical upgrades, hardwiring, structural cabinet changes, and any uncertainty about code compliance belong with licensed professionals. This is also the right choice if the oven is unusually heavy, installed in a high wall cabinet, or part of a larger renovation involving a cooktop, range hood, or new circuits.
A professionally finished installation lets the appliance do what it was designed to do: bring reliable heat, precise cooking, and more enjoyable moments of sharing into the heart of the home. Take the time to fit it properly, and your built-in oven will feel less like an appliance added to the kitchen and more like a natural part of how your kitchen works.